Lighting Tips to Help You with Photography
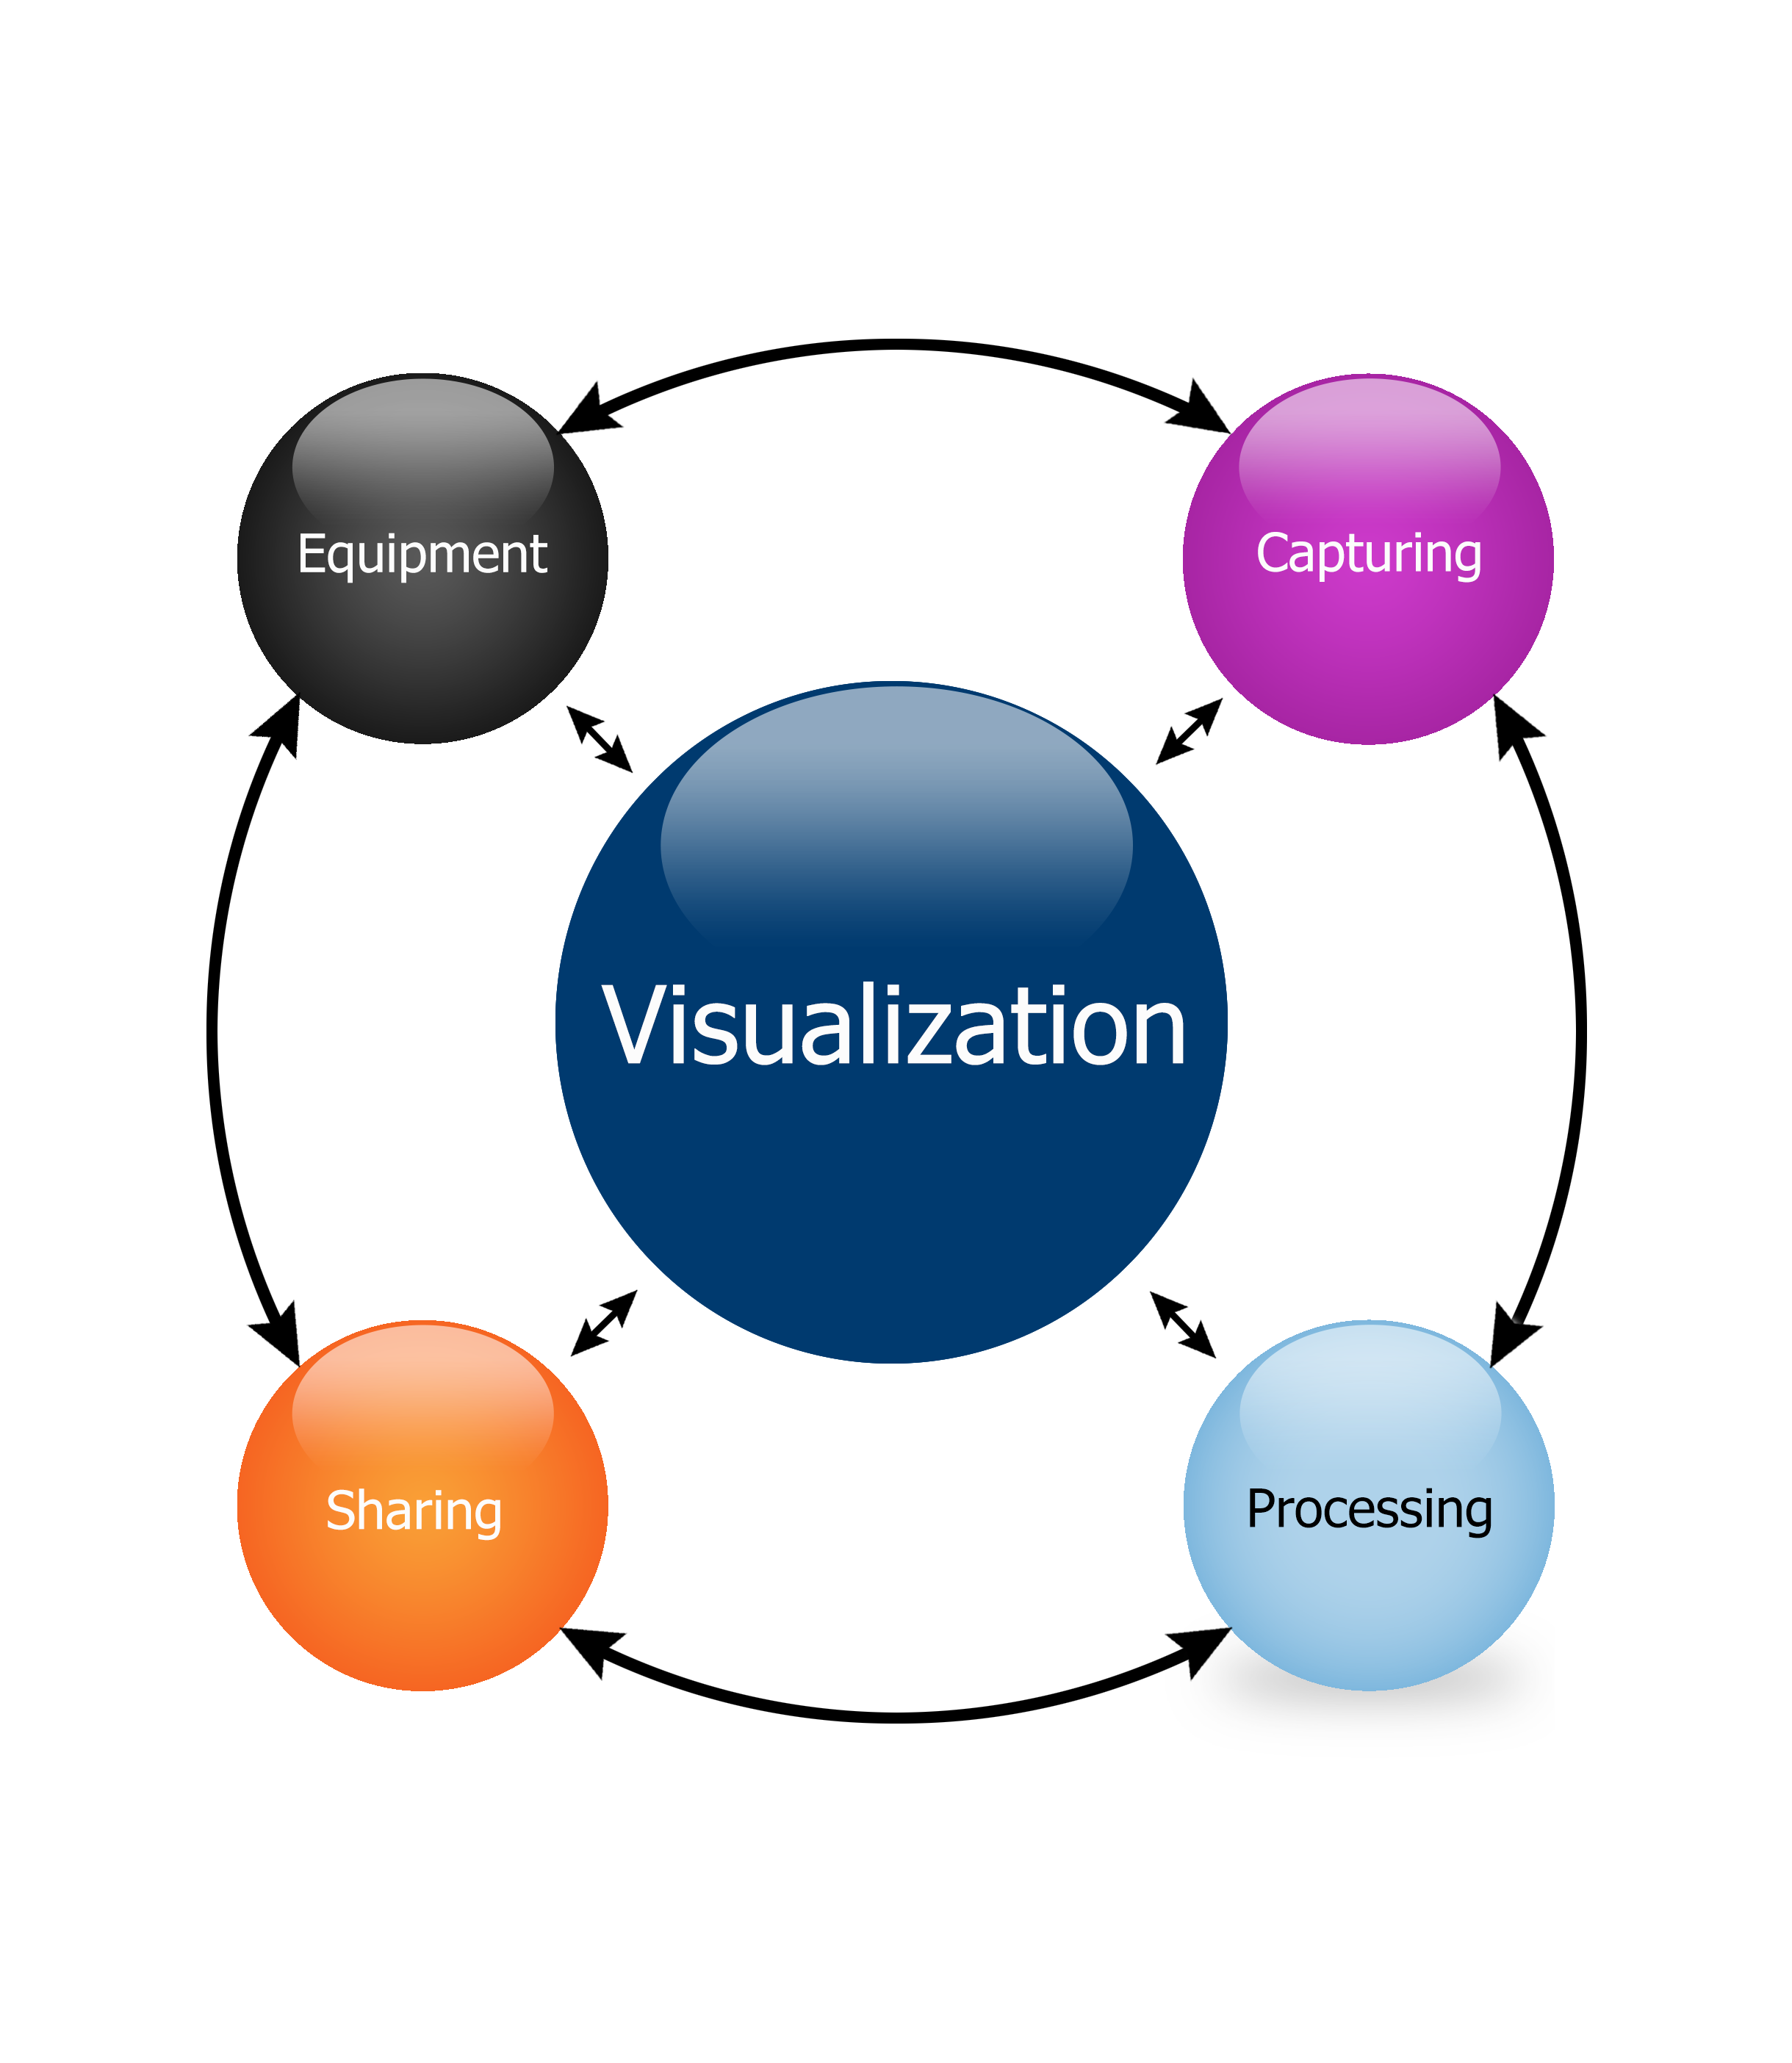
We’re continuing our journey of exploring the Decoder Ring of photography the Cycle of Photography. This post we’ll be talking about capture, and focusing on lighting.
Quick Lighting Tips
You don’t need to be confused on lighting, here are some tips to help!
Lighting can get confusing, so here are some quick tips to help you get started with lighting:
- Don’t get hung up in the complexities of your lighting equipment. Keep it simple and we’ll cover shortly how simple you can make it.
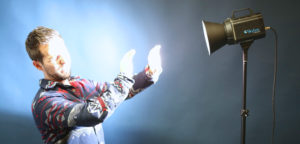
- Train your eye to see light. That’s really important. Whenever you go to a scene, ask yourself, “where is the light coming from?” In my studio I have a window that’s facing northwest. And the light that’s coming in is not direct sunlight. It’s bouncing around outside and it comes through my window. I have an LED to balance it. Whenever you go to a new scene, first thing to do after you visualize is look around. See where the light is coming from. Is it coming straight down? Which is very harsh? Is it bouncing around? Is it filtered through a tree? Those are important things to know. And you want to just train your eye to see those.
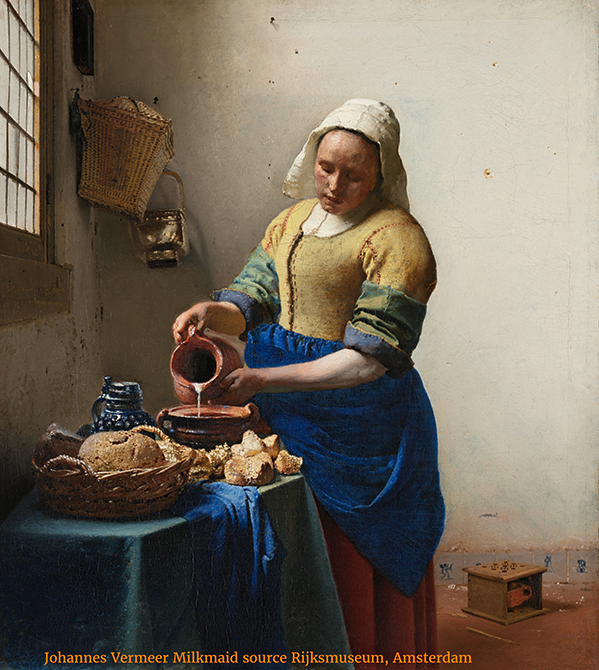
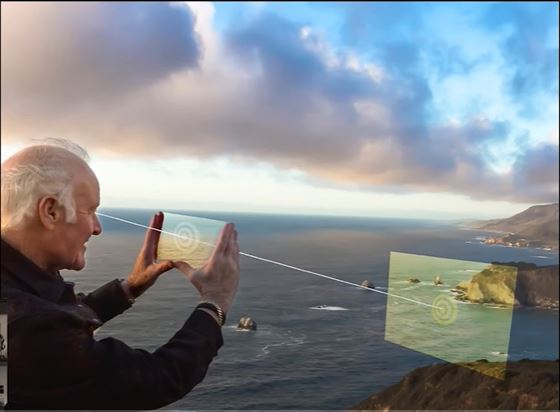
- Use your skills of visualization. Let’s say there’s a big streak of light on my face. Visualize, think “where can I move the subject to where that’s not happening?” Maybe under a tree, for instance. Where it’s filtered or in the shade under an eve. You can go inside and have the light come in through a window like Vermeer. All of these elements are part of your visualization process.
- Keep it simple. Lighting has become and it can be one of those very complicated subjects. But we’re going to take it into some simplicity here.
Matthew Jordan Smith’s Tips
I did an interview with Matthew Jordan Smith years ago, and he covered some great advice for working with lighting in portraits, and here are some of his pieces of advice.
Be Aware of Where the Sun is
Do not shoot with the sun coming directly down. You’re going to get raccoon eyes for sure, weird shadows around the eyes. It’s not a good look. I can’t think of any circumstance unless you’re trying to make a horror film and show how weird the person looks. And that’s probably not your goal when you’re shooting a portrait.
Golden Hour
Obviously we love the golden hours. So what are the golden hours? They’re basically from a half an hour before sunrise to a half an hour after. Beautiful light in the morning. As a photographer, we have to get up early, right? Capture that light, be ready for it. So oftentimes in a shoot, you go out in the dark and you’re waiting. You know, you’re going to get prepped with your equipment with your subject. Even if it’s a landscape, you wait and wait.

Golden hour works well for portraits and landscapes.
And then comes the sun half an hour before sunrise, half an hour after. That’s your first golden hour. And the other one is the end of the day, half an hour before sunset, half an hour after. What makes it good is there are longer wavelengths. It works because it will soften the skin. It gives that beautiful glow. Shoot in the morning. Shoot in the evening. In the middle, what do you do? Whatever you want. But those are two times you definitely want to take advantage of.
In the video above, I also discuss and show how you can look at the light sources around you to see how they work. I highly recommend you watch the video at the top of the story in order to see it in action.
Watch the live stream based on this blog here.
Be sure to keep an eye on our blog as we will be coming out with more posts on lighting, this time with tips from Bob Holmes.


Leave A Comment
You must be logged in to post a comment.